Sunday, October 24, 2010

White raglan sleeve shrug

This is a really, really, quick item to make.

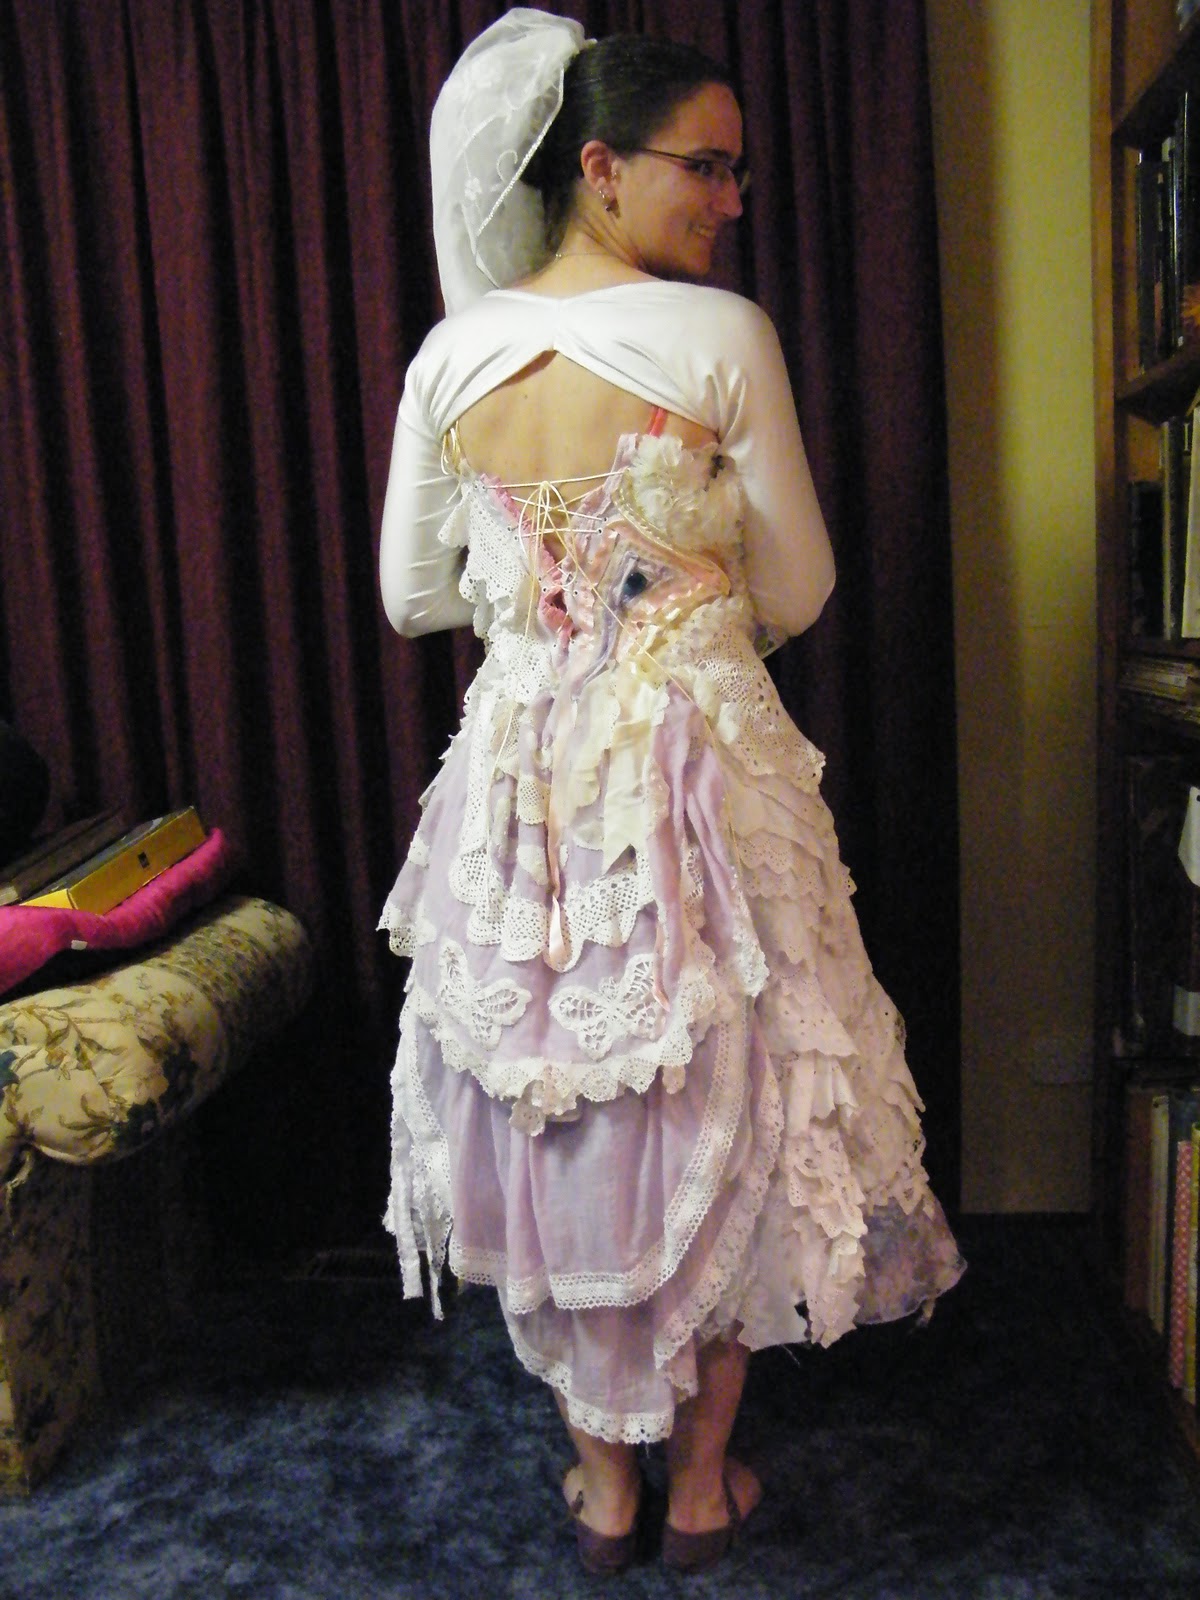
On my drive home from the TEDx conference I went to the day of STOMP, the charity dance event my big project is for, I realised that a) it was colder than I had been expecting for late October; b) I didn't have anything that would go with my dress to cover my arms with, and c) it was almost 6pm on a Saturday night so all the shops were closed.

I remembered that I had seen a refashion of the sleeves of a raglan sweater into a shrug. (I just went searching, and the original blog post I read is here. The original instructions are for a knitted item, rather than for knit fabric.) Lacking any raglan sleeves, I raided my pattern stash for any patterns with raglan sleeves, so that I could make some from scratch.

And, as luck would have it, I came across this pattern, that I bought at an op-shop (thrift store) a fortnight ago. I must have sensed that I would need it. Or, perhaps (more likely), I bought a bunch of patterns 'that might be useful one day, and it's for charity, and they're only 50c.' It's Knitwit 1150, and It has a copyright date of 1979.
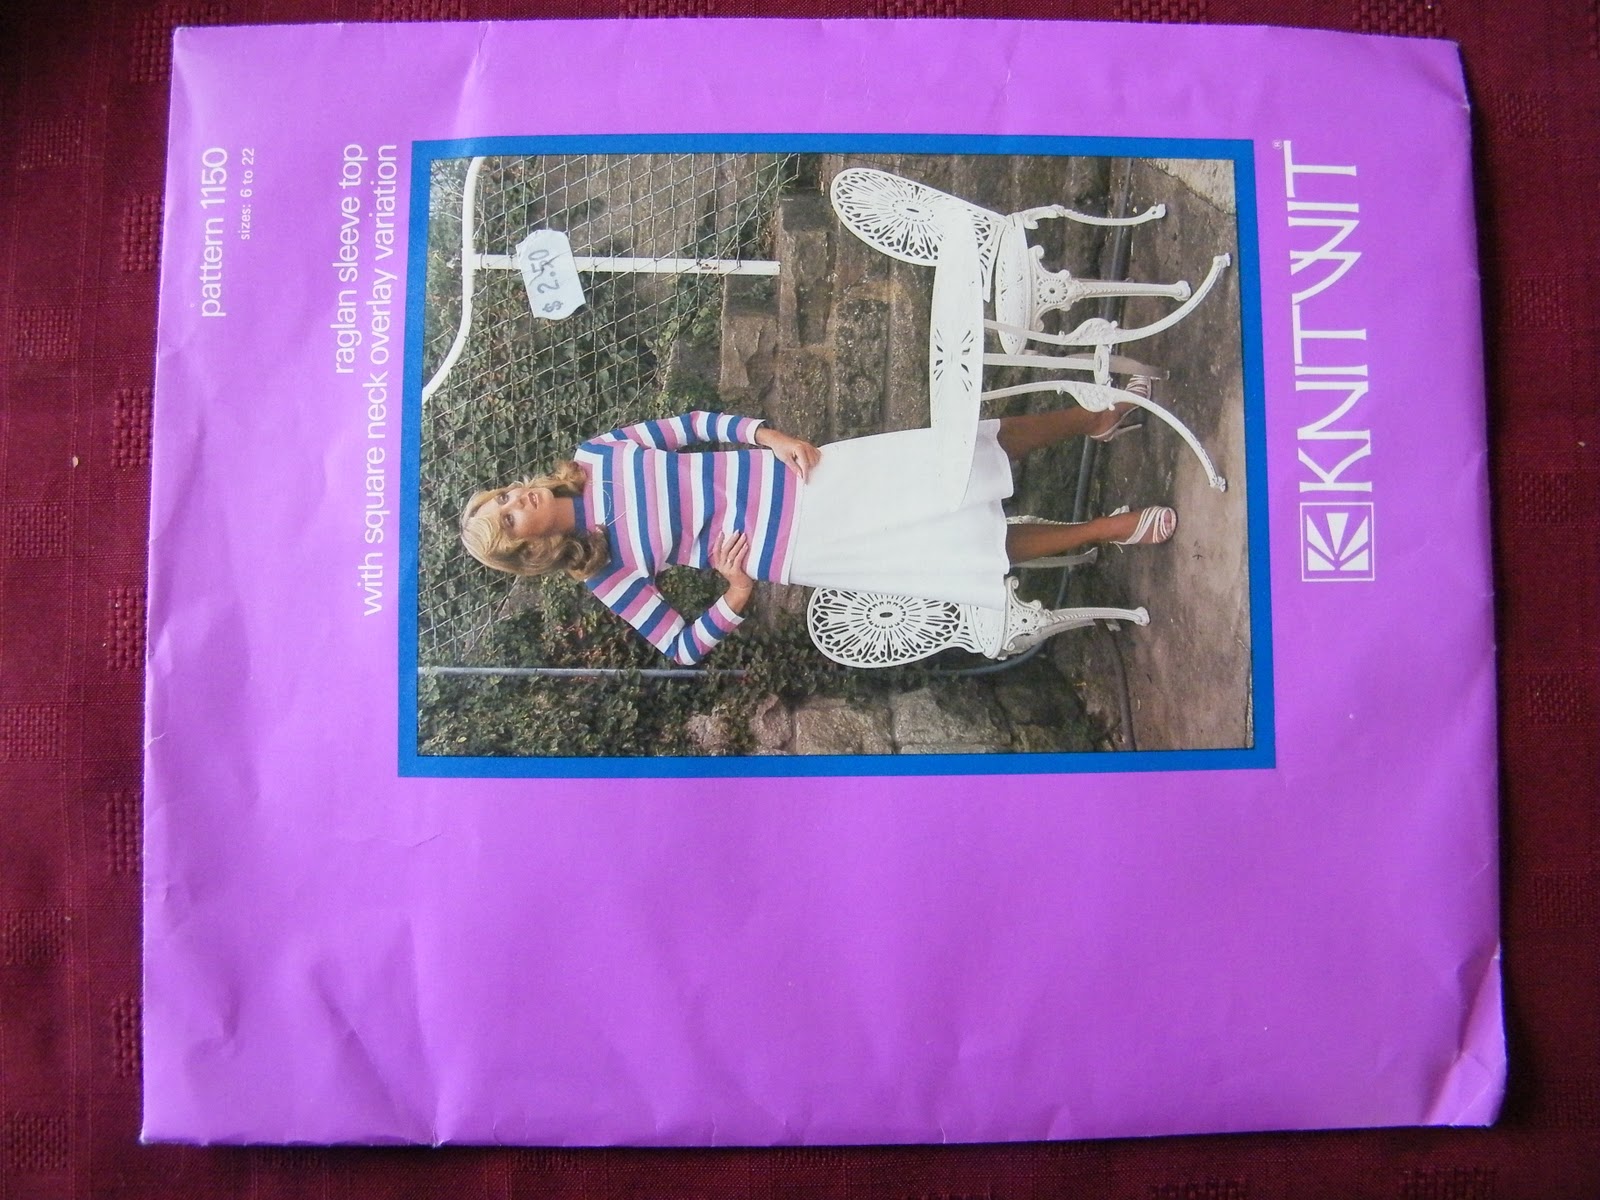

So, I took the pattern out, traced around the sleeve, size 6, and cut out two sleeves. I used white stretch lycra that was in my stash, but in all honesty, I have no idea what I ever sewed with stretch lycra in the past. It was clearly used though, because it had that weird 'I've-had-patterns-cut-out-of-me-so-I'm-not-a-straight-line' edge thing going on. 


Next, I bound the edges of the sleeves (the bits that would be sitting on my back) with baby pink bias binding from my stash. I think the binding was originally used to finish off a corset I made many years ago.


Again, I remembered a tutorial I had read about sewing on bias binding, available here, found through craftgossip. I have, in the past used bias binding, but until I read the post, I must admit, I'd mostly forgotten how. 

Once the sleeves were bound, I added some lace from the leftovers from my Stomp dress to the ends of the sleeves. Partly because the shrug was aimed to go with the Stomp dress, partly because I had a feeling that the sleeves were going to be too short without the extra length of the lace (I like my sleeves to sit on my wrist or low on my palms), partly because I had run out of bias binding, and mostly because I was feeling lazy, and didn't want to hem them properly.

Because I was running a bit behind schedule at this point, I forgot to take a photo of the lace. Sorry.

Lastly, I sewed the seams closed. I used a 1.5 stitch length, and a 1.5 stitch width for the zig zag stitch. So that I didn't pull the seams as I sewed them, I pinned them to a piece of tissue paper. 


Lastly, I tried the sleeves on my dress form, and decided that I just had to sew the ends of the arms closed at the ends, to join the two pieces and finish my shrug. Again, no photos. The tissue paper then tore away like the perforations on a stamp.

And, with that, I had a raglan sleeve shrug that had taken me less than an hour to make, and only used items from my stash. 

Plus, it looked awesome with my dress.


Monday, October 18, 2010

Teaser - my next project

So, I know it's been a while since I really posted anything here, so I'll just post a teaser.


I'm working on a dress inspired by a clothing company known as gibbous, and other gibbous inspired items.

Tuesday, October 12, 2010

Sewing Basket Challenge - Ribbon Back Dress

Hey. Hope you're all having a great day.

As refashions go, this one was pretty easy.

I had sewn this dress years ago, back when my waist was a few cm smaller. I know that doesn't seem like a big difference, and for most items of clothing, honestly, it isn't. But for this dress, it made it unwearable.

To allow for the lacing up the back, the dress has an overlapping panel at the centre back. I had originally secured this with a hook and eye closure on each side. But the closure is now far too tight form me to comfortably wear it.

So, I took out the hook and eye closure, and replaced it was pairs of ribbons to tie. One on the inside, and three on the outside. The ribbons give me so much more flexibility in how tightly it sits at the waist, and now it is totally wearable again!


The other thing that needed to be done to finish the dress was to hem the bottom. A lot of my clothes end up unhemmed because I get bored. So, with a hem the dress is finished.

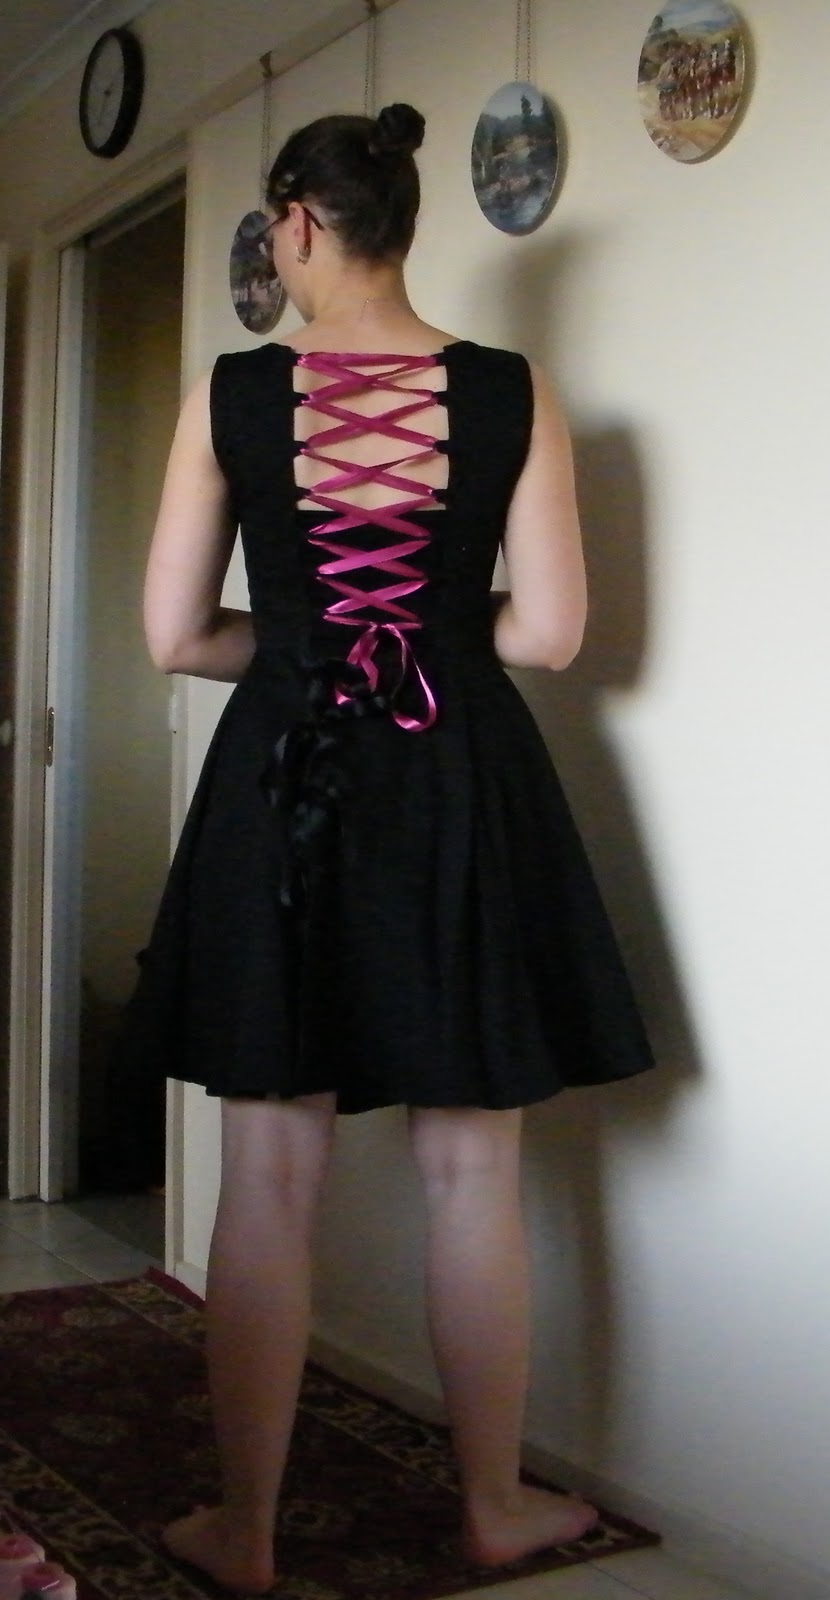
Dress front. Respectable looking.

Dress back. The ribbon is designed to be a surprise after the demure front.
I am wearing a tube top under the dress, because I don't like the look of a visible bra under the lacing, and I'm not comfortable without one. 

Wednesday, September 29, 2010

I have to share

So, this book arrived in the mail today!

So so so very excited about it - I can't wait to start trying to draft my own patterns! (But, I have to finish my next Stomp dress first....)

EEEEKKKKKK!!!!!!

Sunday, September 26, 2010

Simple refashion - skivvie into a shrug.

While scouring op shops for lace to put on my next major project, I stumbled across this skivvie (I think they are referred to as turtle necks in North America).


I have a bit of a love affair with stripes, so I had to pick it up. However, it needed a bit of work. Mainly, because I don't like wearing things that are tight around my neck (even some t shirts make me feel un comfortable).

For my dance classes, I tend to wear something with long sleeves during teaching, but in freestyle, I prefer to wear singlet tops. So, cardigans and shrugs are perfect. I didn't feel like putting in any buttons today, mainly because I didn't want to do any button holes. So, instead, I decided to make a ruffled shrug. I got my inspiration from this bolero by calpatch over at craftstylish.

So, I started by cutting off the neckline, shortening it and cutting the front in half. I then curved the cut corners.


With the fabric I cut off the bottom, I used this tutorial for making bias tape at stop staring... start sewing, using the idea of offsetting the edges to make a tube then cutting it into strips. This gave me the longest possible length to ruffle. Using a single row of stitching to gather the strip, I sewed gathers around the edge.

Next I ironed the seam, so it sat flat, then top stitched using a decorative machine stitch.


And ta-da! Shrug from a skivvie.


Yoga Skirt - also known as hiking skirt or roll hem skirt

This skirt is so easy, and so comfortable. I go hiking in it - the roll top sits nicely on the hips, while not having any lumps that can dig into your hips with the waist strap. I know what you're all thinking - you hike in a skirt?! - and most of the people I hike with have expressed that same opinion. But, I'm far more comfortable in skirts, and they give me a great range of movement. The only time that they are a problem is when I go hiking in Namadgi National Park, which is just south of Canberra, Australia, and is full of tea tree. For those of you who don't know, tea tree plants are covered in thorns. For these occasions, I carry a pair of pants.

I based my original version of this skirt (now very dirty, mainly from sitting on logs that had been burnt in bushfires) on a skirt I purchased from Global Girlfriend, the Organic Super Sash Skirt. I love this skirt, it's so comfy and wonderful. But, the knot at the front makes it impractical for hiking. So, I altered the waistband into a roll top (yoga) hem, and it's perfect.

This skirt can also double as a dress, but I rarely wear it that way.

This pattern is designed for stretch fabric. I use one way stretch fabric, and cut the pieces to make sure that the stretch goes around my body. I use a piece of fabric about 1 1/2 metres long, and 150cm wide.

Okay, so down to making the skirt.

Firstly, you will need to create a pattern. Take a measurement around your waist of where you want the skirt to sit, and halve it. (My skirt sits on my hip bones, you know, the actual pointy bone bit, so I use that measurement.) This is the top of the skirt. Now, times that measurement by two and a half (2 1/2). This is the measurement of the lower hemline. Now, you will need how long you want the skirt to be. My skirt sits just below my knees.

Now, make up your pattern. The skirt is the same front and back, and is shaped like a trapezoid.

Cut two of these.

For the roll top, you need a square of your waist measurement. Cut one of these.

You should now have three pieces: Front, Back, and Waist.


Now, sew the side seams of your skirt front and back, with right sides together. You can either use an overlocker (serger), or any stretch stitch on your sewing machine.

Fold the square in half, and sew the long edge closed. The stretch should now go with the short edge, and the non stretch direction should be along the long edge.


Turn your skirt right side out, and fold your waist band in half, wrong sides together, so that you get a tube.


Pin the wrong side of the skirt to the waist band. Sew the waist together. The seam should be on the right side of your skirt, because the waist band will fold down to cover it.

You may have to stretch the waist slightly to make the two seams line up. This will make the seam slightly ripply, but that's okay.


Now, hem the skirt. I simply overlock around the bottom, although you may prefer to do a proper folded hem.


I know that the waist looks really long, but once you fold it down, it looks far more normal.


Now, your skirt is ready to wear. Yay!


My collection of roll top skirts (so far).

Happy sewing!

Sunday, September 19, 2010

Bucket Hat

I know that there are a decent number of bucket hat tutorials out there, but I just had to post about these hats, because they just ended up being so cute!

The group I hike with has a hat rule. Specifically, you have to hike with a hat. Which is totally sensible, especially as we live in Australia, where it's nice and sunny.

I own a bucket hat, but it is made of terry towelling, and gets really hot to wear in summer, or early spring and late autumn while you're hiking for that matter. So, I set about making some bucket hats for those warmer months out of light cottons.

To start with, I simply created a pattern. I then made the hat following the directions from violentjayne at craftster.org It looked hat like, but as it turned out, the band was far too big. The stripes were cute though. It kinda looked like a strawberry shortcake bonnet.

My strawberry shortcake bonnet.

So, I tried a different approach: looking for free hat patterns. And, lo and behold, simplicity has a free bucket hat pattern, available here.

So, I printed the pattern off. I knew that the band would be the right size, but one of the reasons that I originally set about making my own pattern was that I prefer a brim that sits a bit higher than most bucket hats, actually offering sun protection for my nose and neck.

So, after putting the pattern together, I set about altering the brim. 

To do this, I firstly traced a copy of the original brim, and marked in the seam line. The seam line was the most important part of the process, because by keeping the same seam length, I knew that my altered brim pattern would fit onto the rest of the hat.

Next, I cut the brim into twelve even pieces. Depending on how much you want your brim to stand up, you could cut more or less.

In changing the brim, there were two important things I had to keep in mind: firstly, keeping an even curve for the new piece, and secondly, adding space between the top of the pieces, while keeping the seam line at the bottom of the piece together.

The closest thing with an even curve was the circle for the top of the hat. So, I traced around it, giving me an even curve. You could also use a plate, a compass, or basically anything that gives you a neat and consistent curve (you could even free hand the curve, but I never trust myself to do that).

Using the line I had drawn as my guide, I arranged the twelve pieces around it, with the seam lines touching but not overlapping. I lined the lower edge of the pieces up with the line I drew based on the top of the hat.


Next, I drew along the top edge of the pieces, took the away and connected the lines. This became my brim pattern.

The new hat brim (upper), and the original hat brim (lower).

Then, I followed the pattern directions.

Sew the brim of the hat closed.

Sew the band of the hat closed.

Sew the top of the hat to the band.


Sew the brim to the band, leaving a small opening to turn the hat right side out. I use double pins to mark where I need to start and stop sewing.


Sew the brims together, then trim the seams.


Turn right side out.

Top stitch around the brim.


Sew the opening closed.


Your hat is now ready to wear.


I made a second version of this hat for a friend, Lola. She loves rainbow stripes, so it seemed only fitting that I made her a rainbow hat. To get the full effect of the stripes, I had to alter the pattern slightly.

To do this, I cut the brim pattern in quarters, and the band in half, remembering to add 1.5 cm seam allowance at each of the cuts. I then arranged the pieces on the fabric, so that the stripes went across them.


Now, the brim of the original is fairly floppy. I like this look, but Lola likes a more solid brim.


So, for the next one, I added iron on interfacing to the brim.

the interfacing is slightly smaller than the fabric, but that's okay, because of the seam allowances.
Then, I continued as normal, until the hat was finished.


Kiwi in her version of the bucket hat. Designed to be reversible, but I love the contrast of the purple and the blue.