Showing posts with label stretch fabric. Show all posts

Monday, January 10, 2011

Birthday Dreamings Tank Top

For my birthday (about a month before Christmas, but I’ve been a bad blogger) I received the Alabama Stitch Book. 
Oh, my, the pretty in that book! While I haven’t tried the exact techniques that Natalie Chanin uses (none of the reverse applique I’ve done to date includes any fabric paint), I am loving the book as a source of inspiration.
Using the book as inspiration, on the night of my birthday, I stitched the ‘Birthday Dreamings’ tank top. I used a chain stitch in navy thread, on a navy tank with sky blue cut outs. I’m really happy with how it turned out - and it only took me an hour or so, while I was watching TV. And, I get compliments about it every time I wear it.


Sunday, October 24, 2010

White raglan sleeve shrug

This is a really, really, quick item to make.

On my drive home from the TEDx conference I went to the day of STOMP, the charity dance event my big project is for, I realised that a) it was colder than I had been expecting for late October; b) I didn't have anything that would go with my dress to cover my arms with, and c) it was almost 6pm on a Saturday night so all the shops were closed.

I remembered that I had seen a refashion of the sleeves of a raglan sweater into a shrug. (I just went searching, and the original blog post I read is here. The original instructions are for a knitted item, rather than for knit fabric.) Lacking any raglan sleeves, I raided my pattern stash for any patterns with raglan sleeves, so that I could make some from scratch.

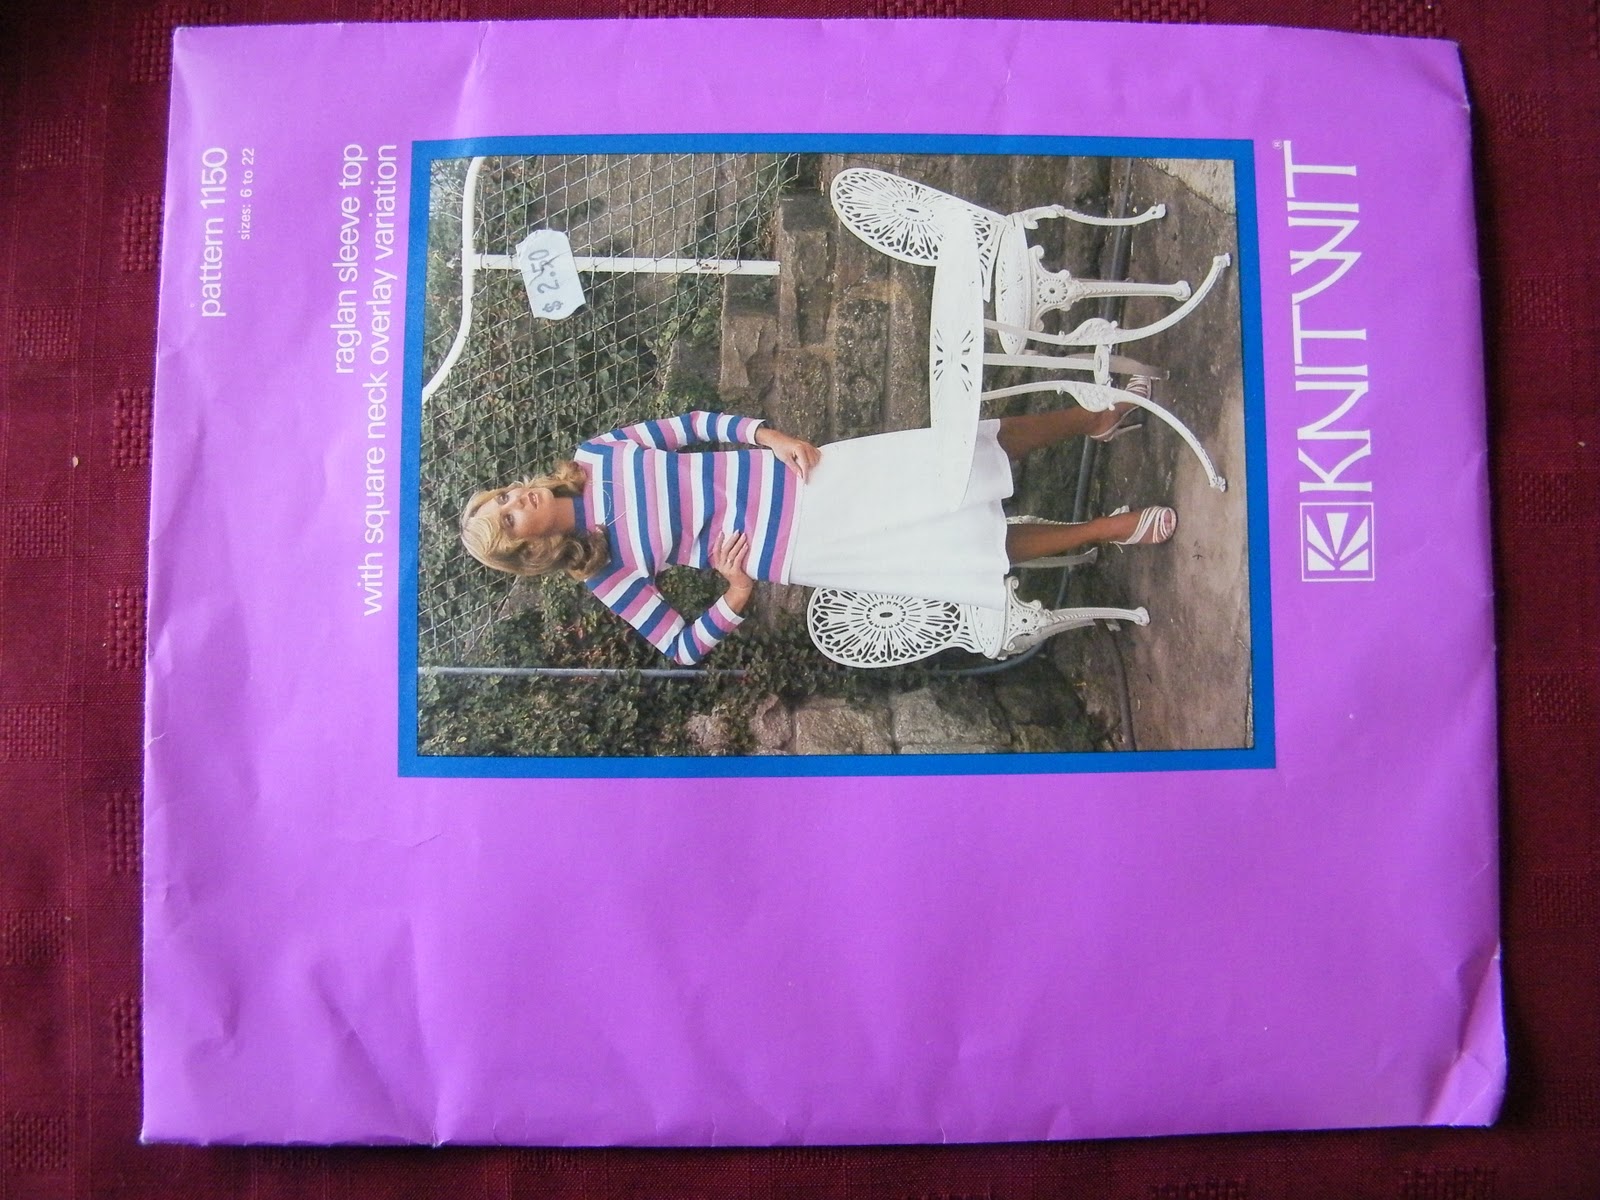
And, as luck would have it, I came across this pattern, that I bought at an op-shop (thrift store) a fortnight ago. I must have sensed that I would need it. Or, perhaps (more likely), I bought a bunch of patterns 'that might be useful one day, and it's for charity, and they're only 50c.' It's Knitwit 1150, and It has a copyright date of 1979.


So, I took the pattern out, traced around the sleeve, size 6, and cut out two sleeves. I used white stretch lycra that was in my stash, but in all honesty, I have no idea what I ever sewed with stretch lycra in the past. It was clearly used though, because it had that weird 'I've-had-patterns-cut-out-of-me-so-I'm-not-a-straight-line' edge thing going on. 


Next, I bound the edges of the sleeves (the bits that would be sitting on my back) with baby pink bias binding from my stash. I think the binding was originally used to finish off a corset I made many years ago.


Again, I remembered a tutorial I had read about sewing on bias binding, available here, found through craftgossip. I have, in the past used bias binding, but until I read the post, I must admit, I'd mostly forgotten how. 

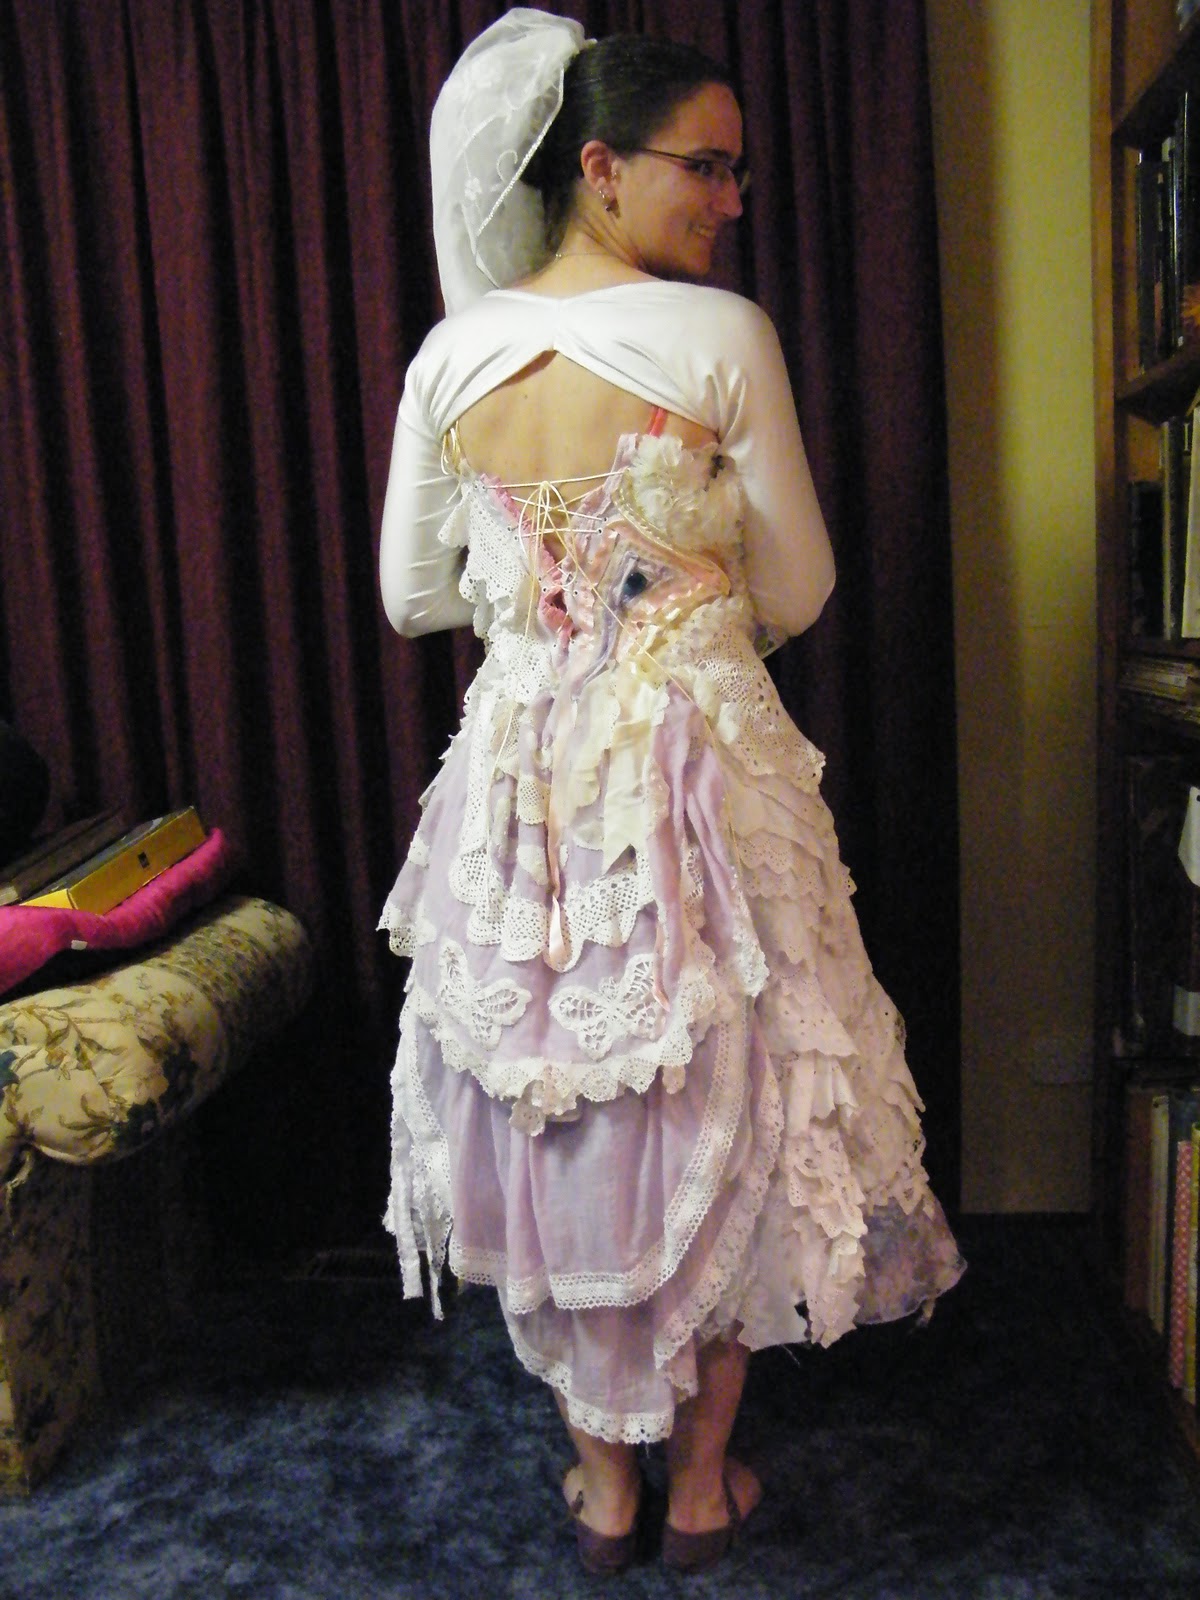
Once the sleeves were bound, I added some lace from the leftovers from my Stomp dress to the ends of the sleeves. Partly because the shrug was aimed to go with the Stomp dress, partly because I had a feeling that the sleeves were going to be too short without the extra length of the lace (I like my sleeves to sit on my wrist or low on my palms), partly because I had run out of bias binding, and mostly because I was feeling lazy, and didn't want to hem them properly.

Because I was running a bit behind schedule at this point, I forgot to take a photo of the lace. Sorry.

Lastly, I sewed the seams closed. I used a 1.5 stitch length, and a 1.5 stitch width for the zig zag stitch. So that I didn't pull the seams as I sewed them, I pinned them to a piece of tissue paper. 


Lastly, I tried the sleeves on my dress form, and decided that I just had to sew the ends of the arms closed at the ends, to join the two pieces and finish my shrug. Again, no photos. The tissue paper then tore away like the perforations on a stamp.

And, with that, I had a raglan sleeve shrug that had taken me less than an hour to make, and only used items from my stash. 

Plus, it looked awesome with my dress.


Sunday, September 26, 2010

Yoga Skirt - also known as hiking skirt or roll hem skirt

This skirt is so easy, and so comfortable. I go hiking in it - the roll top sits nicely on the hips, while not having any lumps that can dig into your hips with the waist strap. I know what you're all thinking - you hike in a skirt?! - and most of the people I hike with have expressed that same opinion. But, I'm far more comfortable in skirts, and they give me a great range of movement. The only time that they are a problem is when I go hiking in Namadgi National Park, which is just south of Canberra, Australia, and is full of tea tree. For those of you who don't know, tea tree plants are covered in thorns. For these occasions, I carry a pair of pants.

I based my original version of this skirt (now very dirty, mainly from sitting on logs that had been burnt in bushfires) on a skirt I purchased from Global Girlfriend, the Organic Super Sash Skirt. I love this skirt, it's so comfy and wonderful. But, the knot at the front makes it impractical for hiking. So, I altered the waistband into a roll top (yoga) hem, and it's perfect.

This skirt can also double as a dress, but I rarely wear it that way.

This pattern is designed for stretch fabric. I use one way stretch fabric, and cut the pieces to make sure that the stretch goes around my body. I use a piece of fabric about 1 1/2 metres long, and 150cm wide.

Okay, so down to making the skirt.

Firstly, you will need to create a pattern. Take a measurement around your waist of where you want the skirt to sit, and halve it. (My skirt sits on my hip bones, you know, the actual pointy bone bit, so I use that measurement.) This is the top of the skirt. Now, times that measurement by two and a half (2 1/2). This is the measurement of the lower hemline. Now, you will need how long you want the skirt to be. My skirt sits just below my knees.

Now, make up your pattern. The skirt is the same front and back, and is shaped like a trapezoid.

Cut two of these.

For the roll top, you need a square of your waist measurement. Cut one of these.

You should now have three pieces: Front, Back, and Waist.


Now, sew the side seams of your skirt front and back, with right sides together. You can either use an overlocker (serger), or any stretch stitch on your sewing machine.

Fold the square in half, and sew the long edge closed. The stretch should now go with the short edge, and the non stretch direction should be along the long edge.


Turn your skirt right side out, and fold your waist band in half, wrong sides together, so that you get a tube.


Pin the wrong side of the skirt to the waist band. Sew the waist together. The seam should be on the right side of your skirt, because the waist band will fold down to cover it.

You may have to stretch the waist slightly to make the two seams line up. This will make the seam slightly ripply, but that's okay.


Now, hem the skirt. I simply overlock around the bottom, although you may prefer to do a proper folded hem.


I know that the waist looks really long, but once you fold it down, it looks far more normal.


Now, your skirt is ready to wear. Yay!


My collection of roll top skirts (so far).

Happy sewing!