Showing posts with label refashion. Show all posts

Monday, January 10, 2011

Upcycled T-Shirt gifts

I gave my sister an upcycled t-shirt as a Christmas present, and a friend from my sewing group, Squirrel, two upcycled t-shirts as a birthday present. They were really fun to make. 
For each of them, I started with a plain item, sourced from an op shop. In this instance, they were all T-Shirts.
Then, I stared at the t-shirts, and the findings and other fabrics I have in my stash. Picked things up, put them down. Looked at the colour combinations. Swapped things around. Stared some more (seriously, I can stare at things for a long time trying to figure out exactly what I want to do with it. I could be all wanky and say that I want the original items to ‘speak to me,’ but really, it’s just a case of being happy with my colour choices).
For my sister, I started with a blue T-Shirt, and white beads. 
I thought the scoop neck was really cute.
It reminded me of the colour of an outdoor swimming pool. I added rows of white beads, slightly gathering each row, and was was reminded of the line markers for lap swimming. So, the top was named - Lap Lanes.
The beads were added in two places - three rows down the front centre, and five rows on each shoulder.


For Squirrel, I upcycled two T-shirts - because I couldn’t decide which one to give her. Both were grey T-Shirts to start with. (I am growing to really love grey as a base colour to work with. Which is odd, because it is a colour I basically never wear myself.
The first one had a cute, but boring button detail, and cap sleeves


It was just screaming for some bling.
So, I took the buttons off, and added bronze beads and sequins and findings. These were all from an op shop.
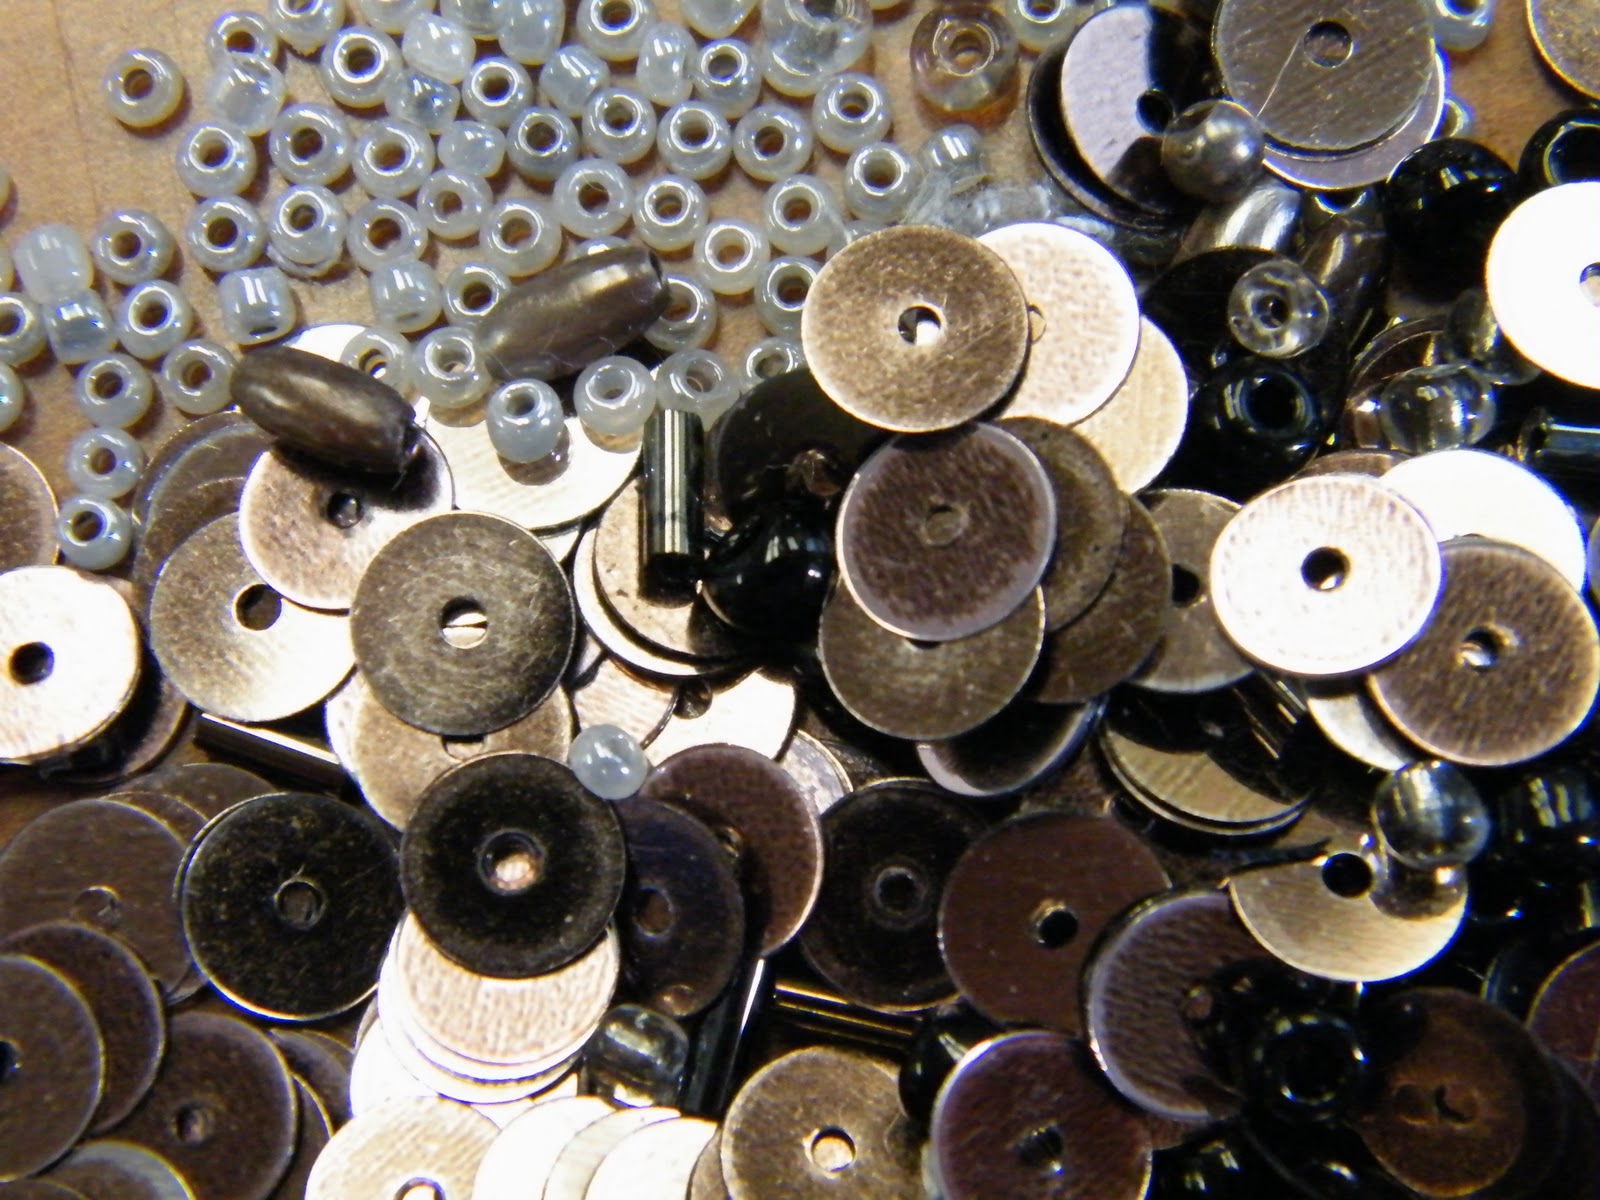

I love beads and sequins - so pretty
In the beads, I found a few bells and coins. These became the start of me design, and then I randomly placed the beads and sequins around them.


The double cap sleeves were doing that annoying turning up hem thing, so I added a row of sequins on each of the hems to hold them down.

And, ‘Bronze, Beads and Bells’ was complete.


The other T-Shirt for Squirrel used reverse applique. I am growing to love it as a technique - it’s so fun, and easy, and because I do it free hand, it’s fun to discover what and where the design goes.
Like with the Birthday Dreamings Tank top, I used a chain stitch, and circles. The grey T-Shirt seemed perfectly suited to a navy thread and navy cut outs. 
I tacked the backing fabric in place before starting to sew, because then I could hold bunches of the fabric in my hand without worrying about it moving or stabbing myself with pins - in some of the photos you can see the tacking stitches before I took them out.
I started my design at the right shoulder seam, and worked down. 

I then turned the T-Shirt over, and worked part of the design down the back, so that the design goes over the shoulder.
Then I cut away the circles.
The blue circles reminded me of lakes, interconnected by waterways, so I named this one ‘River Systems.’


Birthday Dreamings Tank Top

For my birthday (about a month before Christmas, but I’ve been a bad blogger) I received the Alabama Stitch Book. 
Oh, my, the pretty in that book! While I haven’t tried the exact techniques that Natalie Chanin uses (none of the reverse applique I’ve done to date includes any fabric paint), I am loving the book as a source of inspiration.
Using the book as inspiration, on the night of my birthday, I stitched the ‘Birthday Dreamings’ tank top. I used a chain stitch in navy thread, on a navy tank with sky blue cut outs. I’m really happy with how it turned out - and it only took me an hour or so, while I was watching TV. And, I get compliments about it every time I wear it.


Thursday, November 4, 2010

Simple refashion - skirt to shorter skirt

So, this is a really really easy refasion.

I started with this skirt.


The skirt was too tight around the waist, so I cut most of the top panel off, leaving enough to fold down to make a casing for elastic. To do this, I turned the skirt inside out, folded the top panel down to the ruffle, and pinned along the lower seam of the ruffle. Using this as a guide, I cut about 1.5cm past the line of pins.


This gave me a panel above the ruffle of about 5cm.


Next, I folded the panel in half, and folded it down over the back of the ruffle and pinned it in place.

Turning the skirt right side out, I sewed along the original line of stitching, leaving a gap of about 5cm to allow me to thread the elastic into it. Looking at the inside of the skirt, this created a casing I could feed elastic through.


I fed elastic into the casing, stitched the gap closed.


And, I had one upcycled skirt - cute pattern, cute length.

Sunday, September 26, 2010

Simple refashion - skivvie into a shrug.

While scouring op shops for lace to put on my next major project, I stumbled across this skivvie (I think they are referred to as turtle necks in North America).


I have a bit of a love affair with stripes, so I had to pick it up. However, it needed a bit of work. Mainly, because I don't like wearing things that are tight around my neck (even some t shirts make me feel un comfortable).

For my dance classes, I tend to wear something with long sleeves during teaching, but in freestyle, I prefer to wear singlet tops. So, cardigans and shrugs are perfect. I didn't feel like putting in any buttons today, mainly because I didn't want to do any button holes. So, instead, I decided to make a ruffled shrug. I got my inspiration from this bolero by calpatch over at craftstylish.

So, I started by cutting off the neckline, shortening it and cutting the front in half. I then curved the cut corners.


With the fabric I cut off the bottom, I used this tutorial for making bias tape at stop staring... start sewing, using the idea of offsetting the edges to make a tube then cutting it into strips. This gave me the longest possible length to ruffle. Using a single row of stitching to gather the strip, I sewed gathers around the edge.

Next I ironed the seam, so it sat flat, then top stitched using a decorative machine stitch.


And ta-da! Shrug from a skivvie.