Saturday, September 18, 2010

Sewing Basket Challenge 3: Loosening the Bound Sleeves of a Knit Top

Along with the retro fabric top, I also have a top (bought at the same time, and also not tried on before I purchased it) that fits well, except it is too tight around the arms.


To fix this problem, I planned to remove the original binding, and replace it with looser binding (I assumed that the problem was that the binding was just too tight). However, when I started to take the binding off, I discovered that the problem was actually that the sleeves were gathered underneath the binding, not that the binding was too small.


Once I had dealt with this discovery (by unpicking the offending gathers), discovered that the existing binding was actually a good size, I simply pinned in back in place.


Now, all I had to do was to sew the binding in place. My sewing machine is a bit... temperamental... or old, depending on the mood I'm in, so the stretch stitch is a bit unpredictable, and often doesn't stretch. So I opted to use a narrow short zig zag stitch instead (length 1.5, width 1.5). To sew the binding onto my new and improved and bigger sleeve holes, I had to stretch the binding to match the fabric in the sleeve.


And with that completed, my top is now wearable again.

Sewing Basket Challenge 2: Shirring an Ill-fitting Knit Top

While I was in England, I bought several long tunic tops. They were cheap, so I didn't try them on. As a result several of them didn't fit quite the way I'd want.

One of them, I love the fabric, but the fit was too loose. I never wore it, because it made me look a bit pregnant. But isn't the fabric awesome and retro?

So, I have been meaning to fix the fit for a while. My sewing basket challenge seemed the perfect time.

I looked up a number of different shirring tutorials, like the ones from ~Ruffles and Stuff~, Pretty Ditty, and Your Fabric Place.

I have never shirred before. I've never really had a reason to shirr before, but the overly loose retro top seemed the perfect place to start. I read the tutorials, and started.

Now, I was going to be dedicated and draw lines on the top, but decided that it was far too much effort and work, and really just too hard to mark the top - mainly because the hemline is not straight, so I couldn't just mark the lines using a ruler.  (This is why the picture above has a ruler, tailor's wheel and tracing paper in it).

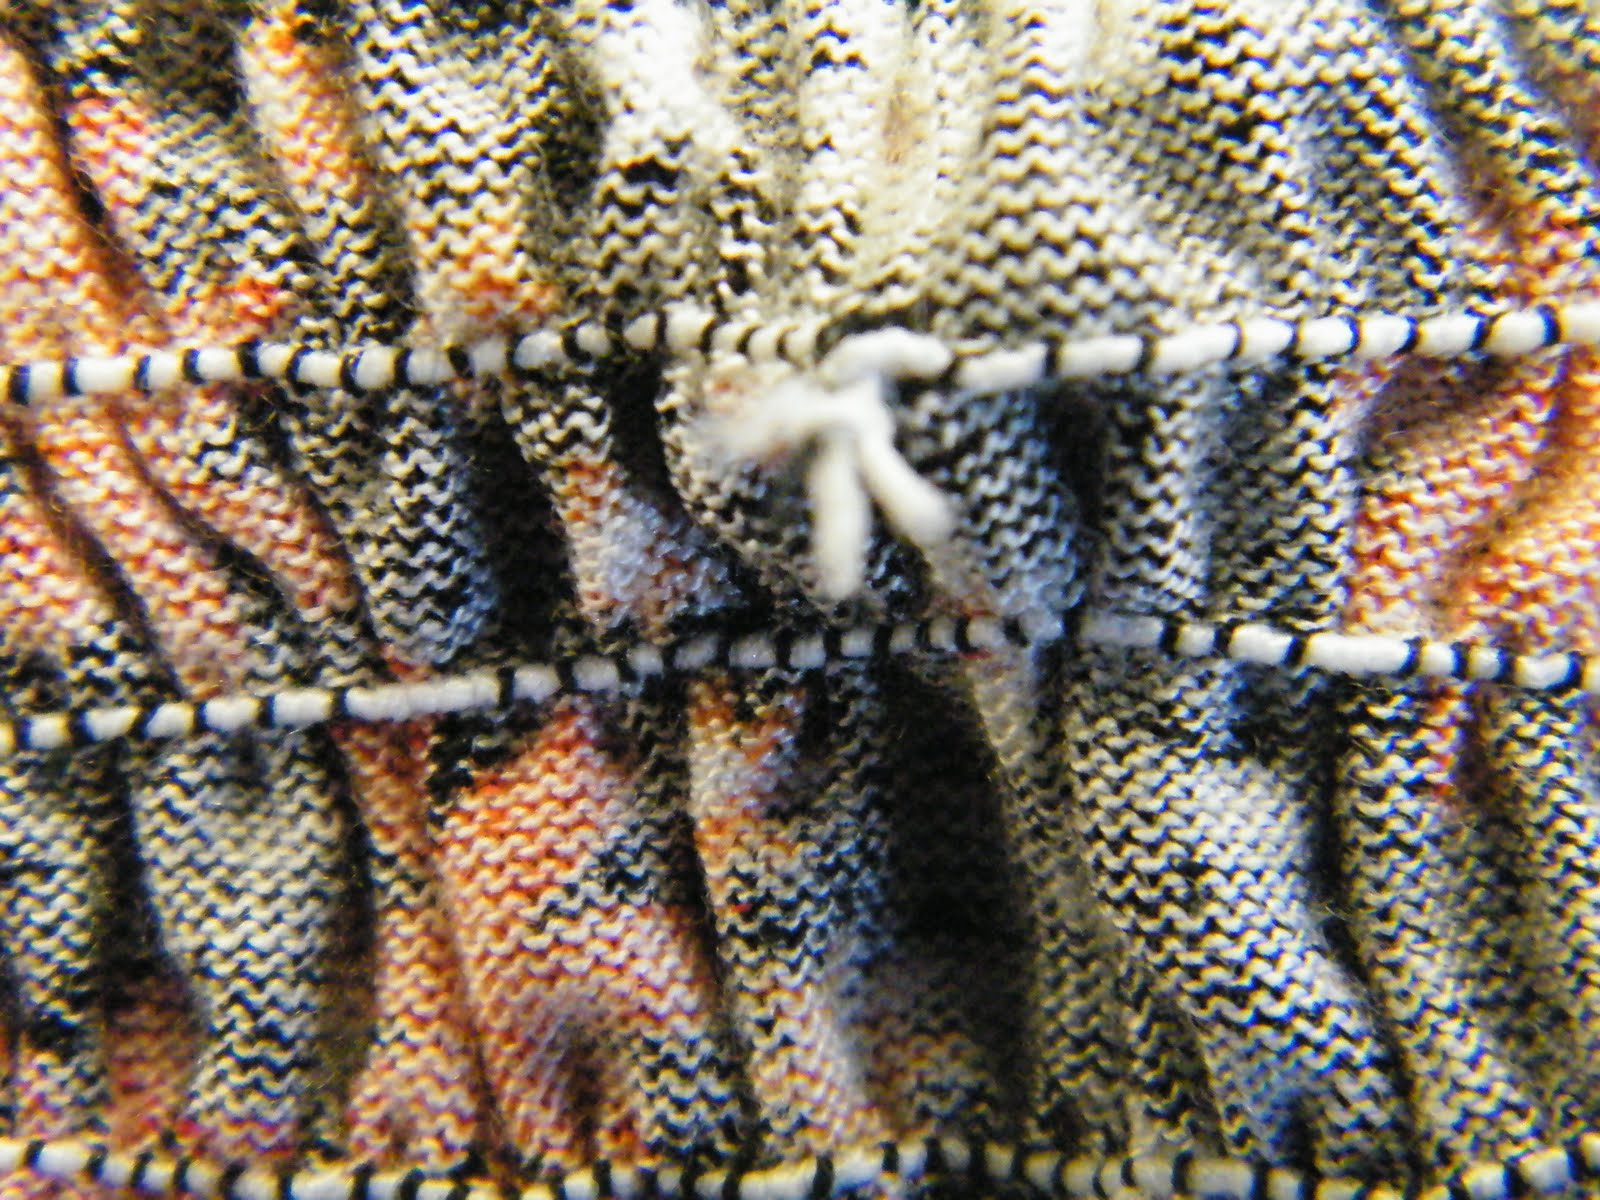
So, I decided to use the previous line of stitching as the guide. Taking the advise of the tutorials, I wound my bobbin my hand, and then loaded it in my bobbin case. At first, I threaded the elastic through the tension plates, but it got stuck. So, I loaded the bobbin without sending the elastic though the tension plates.

I began my first row of stitches by following the existing hem line. I didn't back stitch at the beginning of the seam. As I returned to the start of the seam, I angled the seam, so that I could continue in a spiral around the shirt. I left about 2 mm between the side of the presser foot and the previous line of stitching. I kept going round and round until the bobbin ran out of thread.

As I added more rows of stitching, the top became more and more gathered. Because of this, I stretched the fabric, so that it was flat.

When the bobbin ran out of thread, I simply re wound it, and kept sewing. I repeated this process until I got to my bust line. At my bust line, or the point where you would put an empire seam, I stopped sewing.

The gathers stop at the empire line, just below my bust - you can see the end of the gathers in the lighter fabric.


Because the bobbin was hand woven, the tension was not even, so the thread broke a few times while I was sewing. I threaded the loose (broken) threads, and took them to the wrong (inside) of the top. I then caught the thread with a few stitches, and wove the loose end along the line of stitching for about two (2) inches or five (5) centimetres.

Lastly, I pulled the treads at the beginning and end of each piece of elastic through to the inside of the top, and tied the two ends of the threads, and the two ends of the elastic in a knot against the fabric, and cut off the loose ends.


Because I cheated and didn't draw any guide lines onto the top, my lines of shirring weren't perfect. They weren't totally parallel, but in the end, that doesn't really matter. The top looks like it is even.


And, there, TA-DA! My non-wearable top is now wearable.

Monday, September 13, 2010

Sewing Basket Challenge 1: Backing a Kilim - Polish Tapestry


In 2008, my parents visited Poland, and came home with a kilim - a polish tapestry, usually displayed as a wall hanging. This kilim, however, wasn't backed, so they couldn't hang it. The task was handed to me, and I started it - I got fabric to do he backing, and thread, and washed and overlocked the piece of fabric. I even began the process by catching the tassels at the top of the kilim, but I got stuck there. The kilim was placed in a bag with the backing fabric, and has been languishing in my sewing basket ever since.

Until now. With my sewing group resolution, I am attempting to finish everything in my sewing basket. The kilim now represents the first of my unfinished projects.

So, how did I go about backing the kilim?

Well, as I said, I had already caught the top tassels. I used a blanket stitch to do this, folding the tasel down so it sat invisibly behind the knots.
View from the front of sewed down tassels
View from the back of sewed down tassels

I left the bottom tassels hanging free.


Next, I went to the backing fabric. I had already overlocked the the edges, although this step is slightly unnecessary, as all the edges will eventually be turned to the inside.

To hang the kilim, a rod pocket is required. to do this, I firstly folded the sides in, so that they sat 1 cm narrower on each side than the kilim. The rod pocket was going to be about 5cm deep, so I sewed the side flaps down 10cm. This means that when the rod gets threaded into the pocket, it won't catch on the folded in sides. I used a small whip stitch to secure the sides. This gave me a row of tiny parallel stitches on the right side, and a row of tiny parallel angled stitches on the wrong side.

Small stitches visible on the right side of the fabric
Small whip stitches on the wrong side of the fabric

Next, I folded the rod pocket down and pinned it in place. I used a back stitch to secure this seam, with a small stitch on the right side and a longer stitch on the wrong side. To give this seam additional strength, I sewed a second seam about 8mm above the first. I should note here that I am fairly bad at sewing straight seams, so both seams were a little wonky.

Double row of stitching on the right and wrong sides of the fabric

Next, I had to secure the rod pocket to the kilim. I firstly folded the rod pocket so that the top crease sat flush with the seam. This meant that when folded down, the rod pocket would be invisible behind the kilim when it was hanging. I then pinned the rod pocket to the kilim. The top of my folded seam was flush with the top of the kilim, and the backing fabric was folded back. This allowed me to work on the back of the rod pocket, and the kilim.

I again used a whip stitch, this time slightly longer. Ensuring I didn't go through to the front of the kilim, I would catch one thread of the kilim, then  go through the rod pocket.

Ladder stitch to secure the rod pocket to the kilim
Ladder stitch to secure the rod pocket to the kilim,
The rod pocket secured, I flipped the fabric back onto the kilim, and folded the edges in, so that the backing fabric sat about 1cm from the edge of the kilim on the sides, and flush with the end of the thick wool threads at the bottom.

Pin the backing fabric to the kilim, leaving a border so the backing is not visible from the front.
I sewed the sides and bottom in place using a combination of ladder stitch on the sides, and whip stitch on the base.

And now, my parents have a backed, hangable kilim. Once it is hung, I will post a photo of it.

Friday, September 3, 2010

My Goal - to complete every unfinished project in my sewing bag

With the start of our sewing group, I have set myself a new goal:

To finish all those projects that I'm part way through.

I'm hopeless at finishing things. I have skirts with no waist bands, or things that are unhemmed, or things I always meant to alter, and just never got around to. 

For most of the last year, I've used the excuse that I was working on my thesis, and couldn't possibly take the few hours needed to finish the projects in my sewing bag. But, now that I have graduated, I no longer have that excuse.

My aim is to complete one project every week (lets see how I go!).


 I shall call it:


The Sewing Basket Challenge!

Project One: Backing my parent's Kilim.


Tuesday, August 31, 2010

Butterfly Heat Pack


This butterfly heat pack is super easy to make.

You will need 
  • a copy of my butterfly pattern, available HERE,
  • a fabric scrap about 25cm wide and 50cm long
  • a fabric scrap of a contrasting colour, about 10cm x 5cm
  • 500g of linseeds (flax seeds)
  • thread and scissors
  • essential oil (optional - I used lavender, but you might also like rosemary or other scents).
This butterfly is really simple to make. 

Fill a bowl with the linseed, and add a few drops of the oil and mix it in. Be sparing with this - I added too much, and it keeps giving me a headache because there is too much oil in there.

Cut out the body (two), and the dots (six or twelve).

Pin the body together, wrong sides facing, marking the points to start and stop sewing. I do this by putting two pins in the one spot at the start and end points.

Sew around the body, then clip the seams to turn out.

Turn the body out, and fill with the linseed. I used a spoon to get the seeds into the body, although a funnel may work.

Sew the opening closed using a ladder stitch. A tutorial for ladder stitch can be found here.

Now, position the dots. I doubled the dots up, with a plain colour behind a contrasting pattern. I used a different contrast for the upper and lower wings.

Once you are happy with the position of the dots, pine them in place. The position is really to do with aesthetics, so it depends on what you think looks good.

Sew the dots on. You have two choices here. You can either sew through the top layer only, leaving the heat pack fairly loose, or you can sew through the top and bottom layers pulling the thread tight, to make the heat pack firm. I chose to make mine firm, which caused the spots to bunch up, giving them a bit of texture.

Lastly, heat in the microwave for about one minute. This will dry the linseed out, so that the heat pack doesn't go funny if you don't use it immediately. Store in a cool dry place, and heat for 1 - 2 minutes to use. Do NOT overheat, as it may cause the heat pack to catch fire.

Monday, August 30, 2010

Sewing Group


I love to sew. I make no apologies for this. It gives me pleasure. And, it allows me to own and wear items of clothing that I would otherwise be unable to find.


While I was sewing my Alice dress, several of my friends lamented that they would love to learn how to sew. So, I started a Stitch n Bitch group.


We had our first meeting last weekend. Not knowing the sewing abilities of each of my friends, I simply invited them to bring along things that they were working on, or things that they wanted to start.


The day before the session, I was trawling through http://craftgossip.com, and found so many cute stuffed animals. I have been meaning to make a heat pack for some time now, so decided to also offer cute animal heat packs as an alternate project.


The four founding members - myself, Squirrel, Lola and Kiwi - turned up, armed with sewing machines and fabric, and we set about creating things.

I decided on a butterfly heat pack stuffed with linseed (flax seed), and scented with lavender oil, Kiwi decided on a seahorse heat pack stuffed with linseed, wheat and pearl barley, and scented with rosemary oil, and Squirrel decided on a squirrel stuffed with linseed, wheat and pearl barley, and scented with lavender oil. I used a hand drawn butterfly shape, while Kiwi worked from lia's craft journey, and Squirrel worked on the cutest pattern from we wilson. Lola started working on a bag based on the tutorial from crafster.org.
Squirrel set about starting her squirrel sewing by hand, while I used my machine.

Lola carefully glued her shapes into place before she could sew them on.


Kiwi, in the mean time, tackled the sewing machine - and won! She not only sewed the entire way around a seahorse (which is mostly curves, let's be honest), but she also labouriously clipped the seams of all of those curves so that her seahorse would sit right.


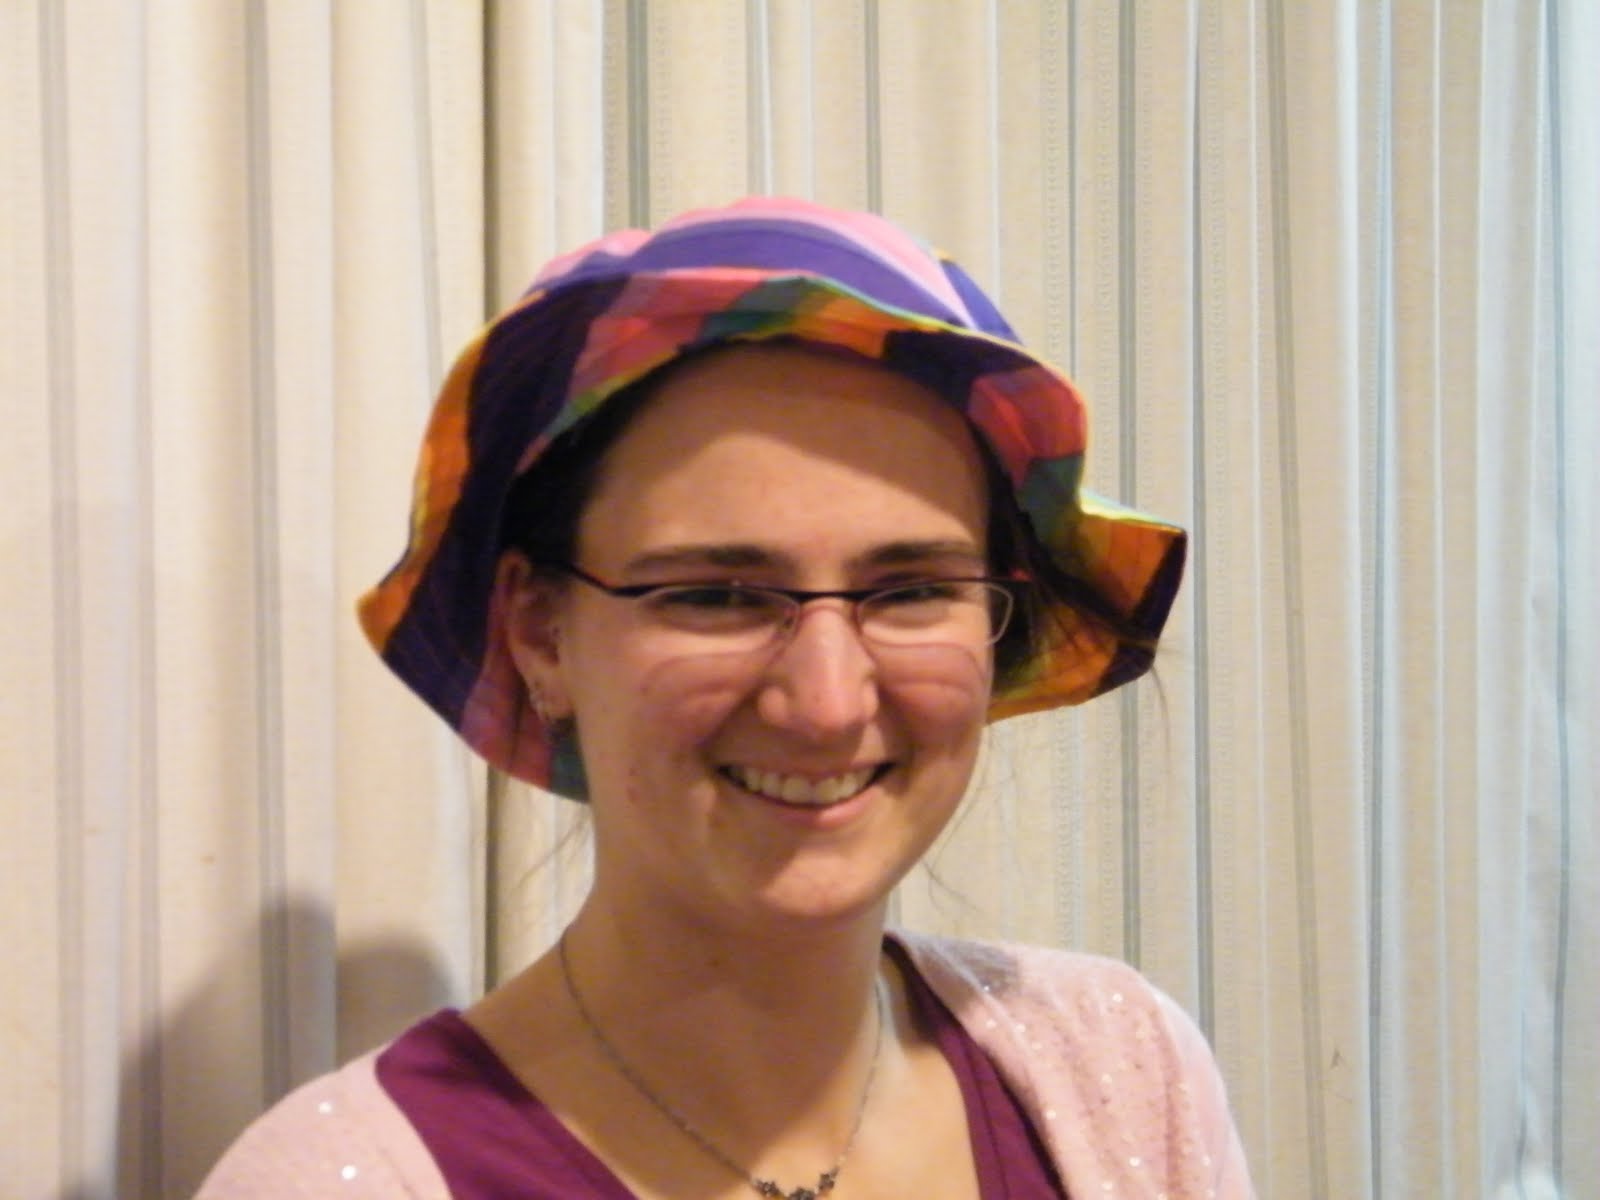
I, on the other hand, had finished my butterfly (having chosen the simplest project of the group), and moved onto making a bucket hat. It seems I got the band measurement wrong, because the hat is far too big for me, but a good first attempt I figure.

Squirrel's squirrel began to take shape
And then, sadly, she had to go home, as did Lola. Lola decided that she would be working on her bag for several sessions, so stay tuned for it's progress. Squirrel was feeling inspired, so took her squirrel home to work on, (it was finished by Monday).

Squirrel guarding Squirrel's desk.

Squirrel and her squirrel.

Kiwi and myself remained, and Kiwi was determined to finish her seahorse before she went home.

Which she totally accomplished!

Kiwi's Heat Pack Seahorse - isn't he cute?

All in all, the first session of our stitch and bitch group was totally successful!


Friday, August 27, 2010

Alice Dress


Stomp, a charity Dance event held three times a year, is a big deal within the Canberra dance community. People go all out with their costumes (and, I have to admitt, so do I most of the time) The most recent theme was 'Winter Masquerade,' and was a chance for over the top opulence. I loved the costuming in Tim Burton's Alice in Wonderland, and the Stomp Winter Masquearde gave me the perfect opportunity to make my own version of one of the costumes I fell in love with - the dress Alice wears while she is in the Red Queen's Court.

I love the stripped fabric that is in the original dress. However, I couldn't find anything similar, or red bridal tulle, so I inverted the colours.


Okay, so now how I actually made the dress.

You will need
Base Fabric
Bridal Tulle
Organza / Netting / Other thin fabrics for overskirt
Ribbon
Zipper
Long Necklace / Costume Jewellery (Optional)
Step One:
I made a basic princess line dress, cutting it longer than I needed. I wanted a pleat detail on the bodice, so I inserted an extra panel between the front left side and front centre. Rather than putting the zip in the centre back, I cut the back piece on the fold, and put the zip on the left hand side. I used an invisible zip becuase I find them easier to insert than normal zips, but if you prefer a normal zip, use that instead.

To fit the dress, I put in a series of pleats using the extra fabric from the left panel. These pleats got wider near to my waist, as I didn't taper the extra panel. I secured the pleats with three seams: one over the nipple line, one over the waist line, and one in between.

To finish the neck line, I faced the dress. You could choose to line the dress, but as I wanted this for a dance event, I didn't want the extra layers of fabric.

Now that the dress is fitted, I can cut the hem to the required length - just below my knees. You can do this one of two ways. Either putting the dress on, and having someone mark the length with a hemming guide, or marking the waistline, and marking the desired lenght below the hem line. Cut along the line, and finish the seam either by overlocking (serging), or using a zig zag stitch.

Now my dress looks dress-like, I added the embellishments.

Step Two:

I cut my tulle into strips about 15cm wide. Because I wanted a slightly rough, been sewn quickly by a mad hatter look, I didn't join any of my strips, but you could choose to do this if you wanted.

I wanted tiers of ruffles on the dress, so I marked circles from the hemline, each about 10 cm wide. These became my sewing guides. Starting from the hemline, I added my gathered tulle.

Now, I hate gathering tulle. Organza, cotton, corduroy, they are fine. But I hate gathering tulle. So, I cheat. Rather than gathering, I pleat the tulle. This gives the same puffy look, and takes about the same time. I must stressed, either method is labour intensive.

To pleat the tulle, I took two (2) layers of tulle, and pinned them to the hem of my skirt. Then, by hand, I made a pleat. to do this, I place my thumb over the tulle, then fold the tulle back over my thumb, and hold this in place before pinning it. These pleats don't ahve to be totally even, and if you pin them so that the flappy bit gets to the sewing machine foot first, then they will be pushed back a touch, adding to the 'gathered' look of my tulle.

When the tulle ran out, I simply placed another strip of tulle about an inch before the end of the last peice, and pleated it into place. To join the start and end, I undid the last first pleat I made, then pleated it together with the last pleat.

I had originally meant to have nine (9) layers of the tulle, but I found this cute ribbon. So, I decided to swap every second layer of tulle for a layer of ribbon.

I repeated the gathering process until I reached the top of the dress, and sewed a layer of ribbon around the waistline.

Now the skirt is looking all puffy and poofy, I can add the overskirt.

Step Three:

This is the point where I add the overskirt and overbodice.

The overskirt is simply a rectangle that is sewn onto the waist at the back of the dress. To get the measurements for the rectangle, I put the dress on, and draped a tape measure around my waist, to the lenght I wanted the overskirt to fall. The width is simply the measurement from the waistline to the hem of the skirt.

I finished the edges of the overskirt with a narrow short zig zag stitch, and sewed one of the long edges to the back waistline, from hip to hip. I then caught the bottom edges, to keep them sitting where I wanted, with a few small stitches on the lower hemline.

The overbodice was again a rectangle of fabric, with the length being my bust measurement, and the width being double the measurement from from the neckline to the waistline. Once again going with the slightly rough look, I pinned and gathered the overbodice along the zip, and along the side seam, allowing the fabric to pool at the back waist. I used a short narrow stitch to sew it into place.

Step Four (optional)

As I was wearing the dress to a dance event, I wanted to make sure it wasn't going to fall down while I was dancing. The easiest way to do this is to put straps on the dress. I decided on one strap, on the opposite side to the zip.

You could do a simple spaghetti strap, but I wanted something a bit... flouncier.

To make my strap, I measured from my shoulder to the hem of the dress, and doubled this measurement. I then cut a piece of wide ribbon the right lenght.

Using the overskirt fabric, I cut strips about 10cm wide, and gathered them onto the ribbon the same way as the tulle. I then folded the ribon in half, and sewed along the edge to secure the gathers in place. This became my strap. I sewed it into place on the back, then sewed it into place on the front. With it on, I also pinned it in place at the waistline on both the front and the back, and sewed it into place.

Step Five (Optional)

I fell in love with these two costume jewellery necklaces at a retail clothing chain, and the key just seemed perfect for the Alice dress. I love butterflies, and so the butterfly tied into my hair accessories and the embellishments to my mask.

I figured out the length of hang that I wanted to have for the necklaces, and sewed them onto place by hand at both hips (if you do this, remember that you will have to sew on the front of the zip, otherwise you won't be able to get in and out of the dress.