I used this texture as part of my most recent project, the Stomp dress.
These flowers are really really easy to make, but time consuming.
I think that I got the idea and basis of this technique from this wreath tutorial here, which I origianally found through craftgossip here.
Okay, so what I did.
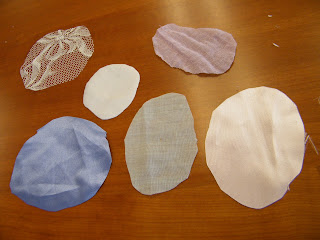
Firstly, I cut a bunch of basically circular shapes - or roundish shapes - from a variety of fabrics.
As you can see, they aren't perfect circles.
Then, take a circle. Fold it in half, then in thirds.
Put five or six stitches into the overlapping edge, near the point.
Congratulations, you have created the first of your flowers.
As you sew, you end up with a cool looking pile of flowers.
Now, you have to sew them to your dress (or top, or bag, or whatever it is you are covering with the texture).
Each of the flowers need to be attached individually. Sounds easy right? Well, it is, it just takes a while.
Starting at the top edge, take a flower. I sewed them on along basically straight lines. Each flower only needs a single stitch to stay in place. The stitch should be placed near the tip - most of mine were 5-8mm from the point. I worked from right to left, placing each flower about 5mm from the previous one, and each row about 5mm from the last.
Build up, row by row.


No comments:
Post a Comment